如果有误,欢迎批评指正。友情提示,本文有点长。
SpringBoot 版本 2.0.5.RELEASE。
在学习 SpringBoot 时,会在启动项里面看到在类名上面有一个注解 @SpringBootApplication。前几天在一个公众号中看到关于一道面试题,题目类似于:知道 @SpringBootApplication 的原理吗?
突然发现自己对于 SpringBoot 还是处在‘知其然而不知所以然’的状态。于是就去官网和网上查看一些资料,于是有了这篇文章。
SpringBoot 启动项
1
2
3
4
5
6
7
| @SpringBootApplication
public class ApplicationStartup {
public static void main(String[] args) {
SpringApplication.run(ApplicationStartup.class, args);
}
}
|
@SpringBootApplication
看下 @SpringBootApplication 注解的详情
1
2
3
4
5
6
7
8
9
10
11
12
13
14
15
16
17
18
| @Target({ElementType.TYPE})
@Retention(RetentionPolicy.RUNTIME)
@Documented
@Inherited
@SpringBootConfiguration
@EnableAutoConfiguration
@ComponentScan(
excludeFilters = {@Filter(
type = FilterType.CUSTOM,
classes = {TypeExcludeFilter.class}
), @Filter(
type = FilterType.CUSTOM,
classes = {AutoConfigurationExcludeFilter.class}
)}
)
public @interface SpringBootApplication {
}
|
从注解的源码中可以看到它被 @SpringBootConfiguration、@EnableAutoConfiguration、@ComponentScan 等注解修饰。
@SpringBootConfiguration
@SpringBootConfiguration 是 SpringBoot 项目的配置注解,这也是一个组合注解。
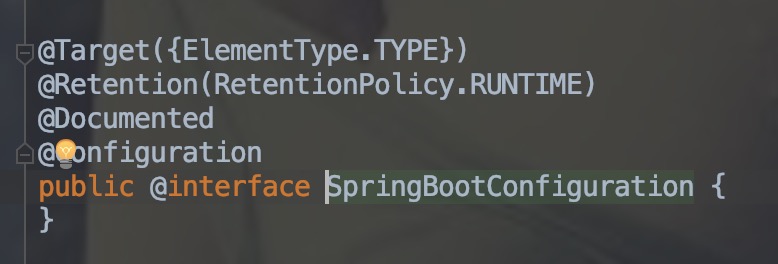
通过源码上的注解,可以看出 @SpringBootConfiguration 主要是 @Configuration。
@Configuration 是一个类级注释,指示对象是一个bean定义的源。@Configuration 类通过 @bean 注解的公共方法声明 bean。
@Bean 注释是用来表示一个方法实例化,配置和初始化是由 Spring IoC 容器管理的一个新的对象。
@EnableAutoConfiguration
启用 Spring 应用程序上下文的自动配置,试图猜测和配置您可能需要的bean。自动配置类通常采用基于你的 classpath 和已经定义的 beans 对象进行应用。
启用自动配置,该注解会使 SpringBoot 根据项目中依赖的jar包自动配置项目的配置项。
@ComponentScan
组件扫描,为 @SpringBootConfiguration 自动扫描类配置组件
SpringBoot 启动流程
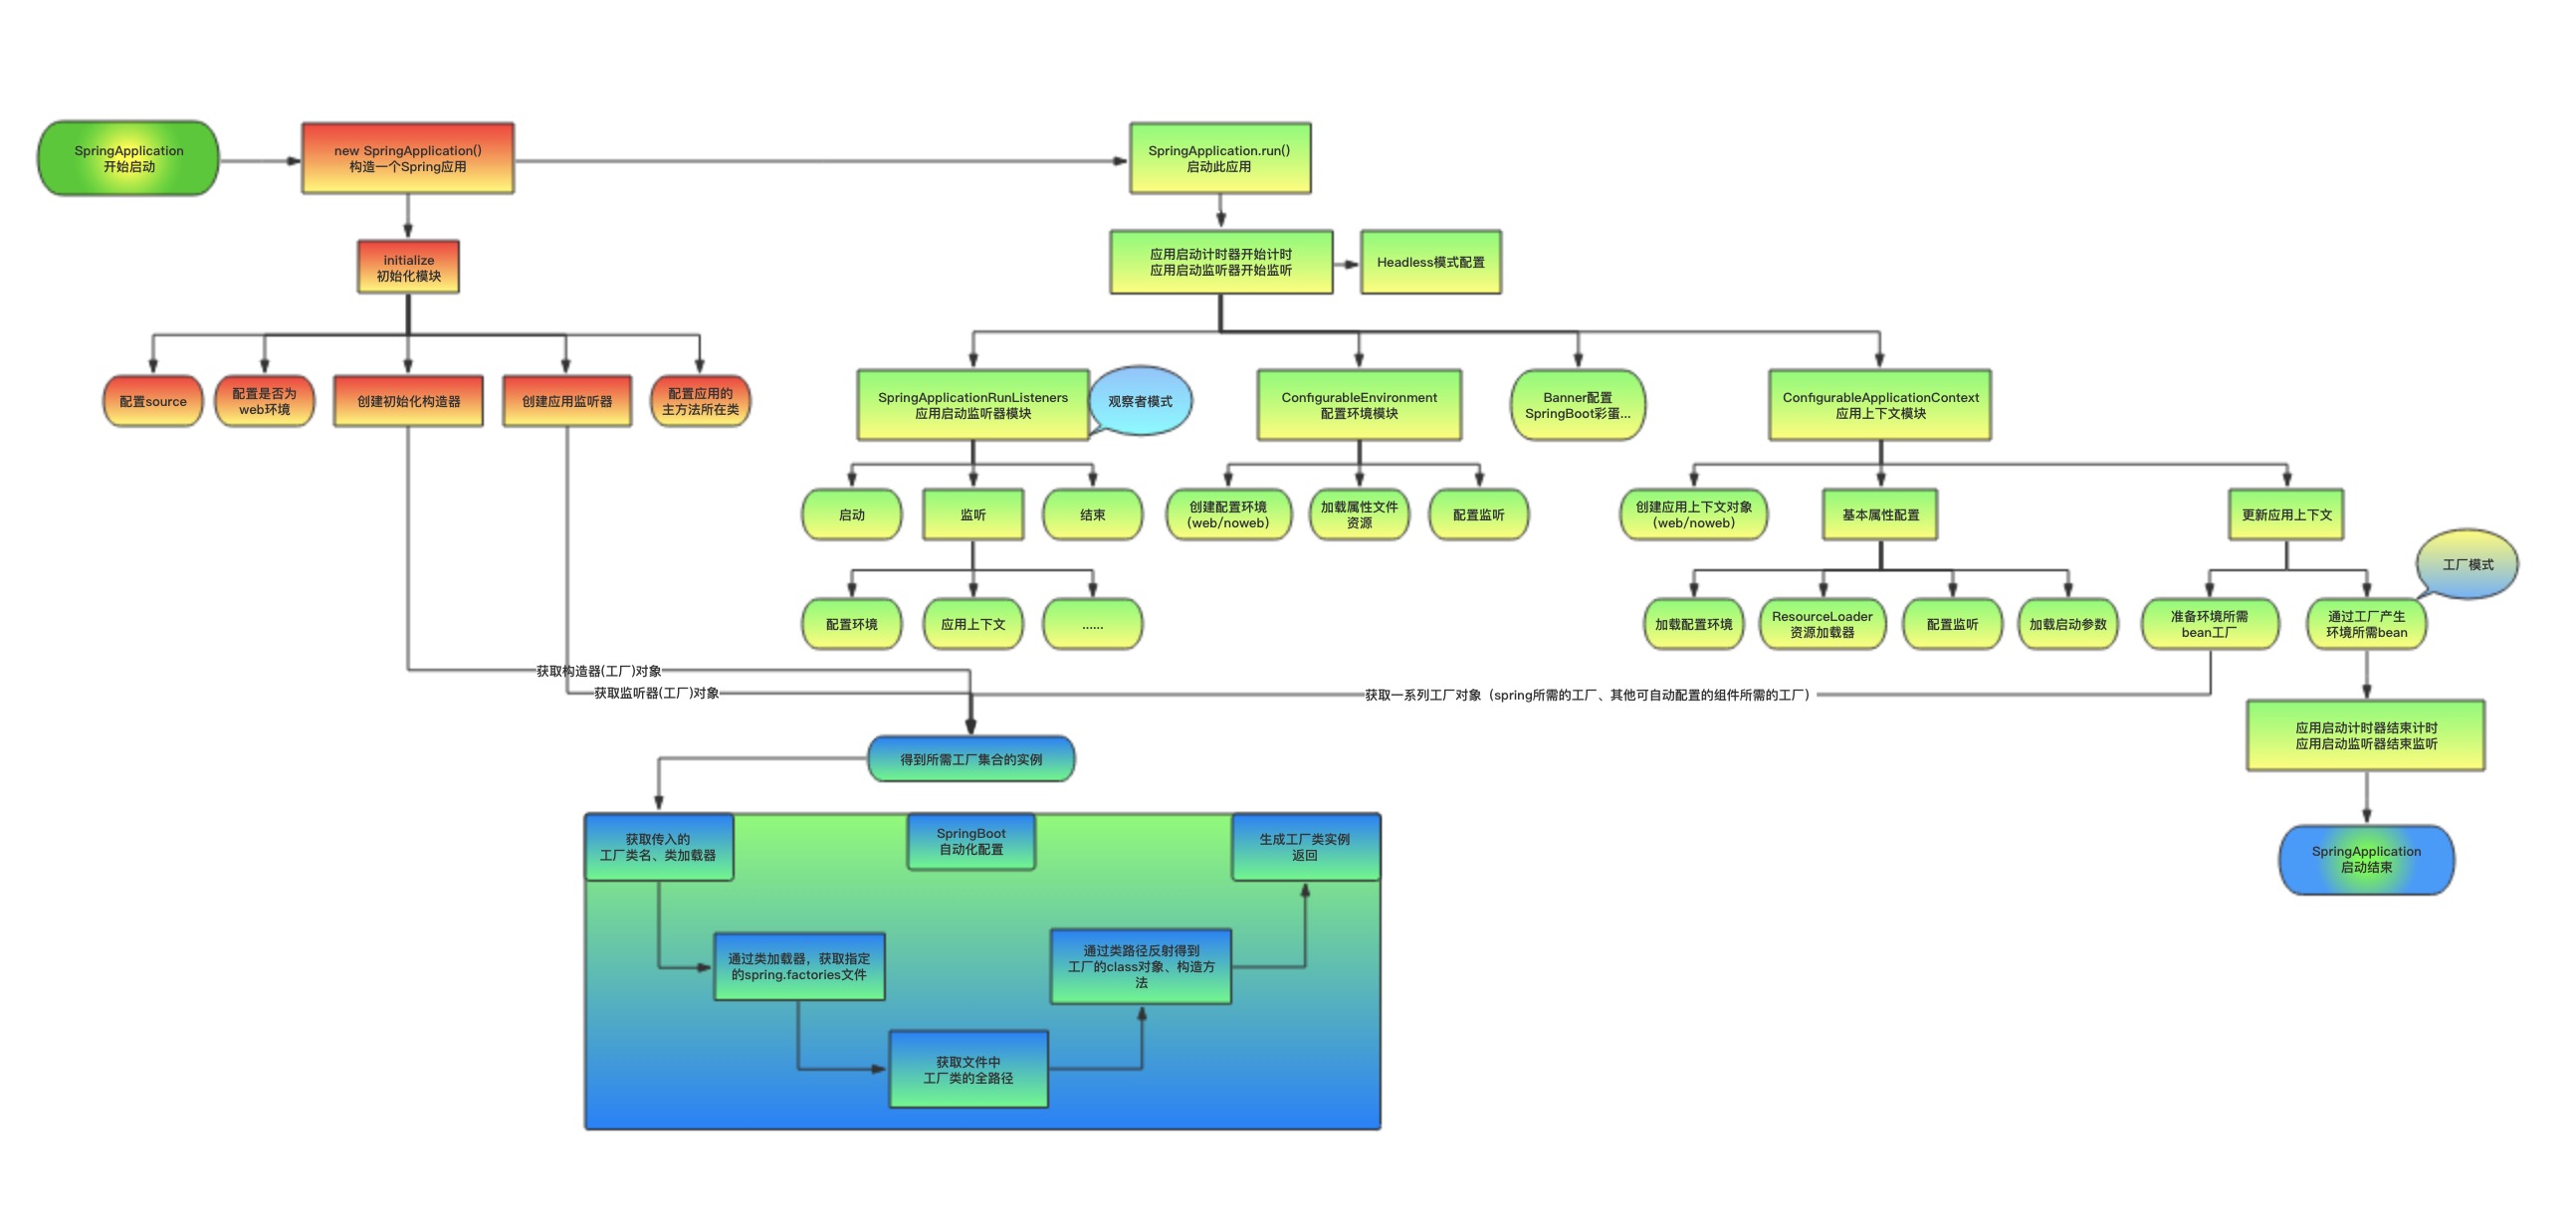
上面图片来源,不过其中的流程是以前版本的,但是原理差不多。
Spring Boot 流程分析:
下面这个是 SpringBoot 的启动项:

通过 run() 方法,我们可以看出:


通过上面的代码,分别分析下SpringApplication()和run()。
SpringApplication()
通过一些类的调用,最后到下面这个:
1
2
3
4
5
6
7
8
9
10
11
12
| @SuppressWarnings({ "unchecked", "rawtypes" })
public SpringApplication(ResourceLoader resourceLoader, Class<?>... primarySources) {
this.resourceLoader = resourceLoader;
Assert.notNull(primarySources, "PrimarySources must not be null");
this.primarySources = new LinkedHashSet<>(Arrays.asList(primarySources));
this.webApplicationType = deduceWebApplicationType();
setInitializers((Collection) getSpringFactoriesInstances(
ApplicationContextInitializer.class));
setListeners((Collection) getSpringFactoriesInstances(ApplicationListener.class));
this.mainApplicationClass = deduceMainApplicationClass();
}
|
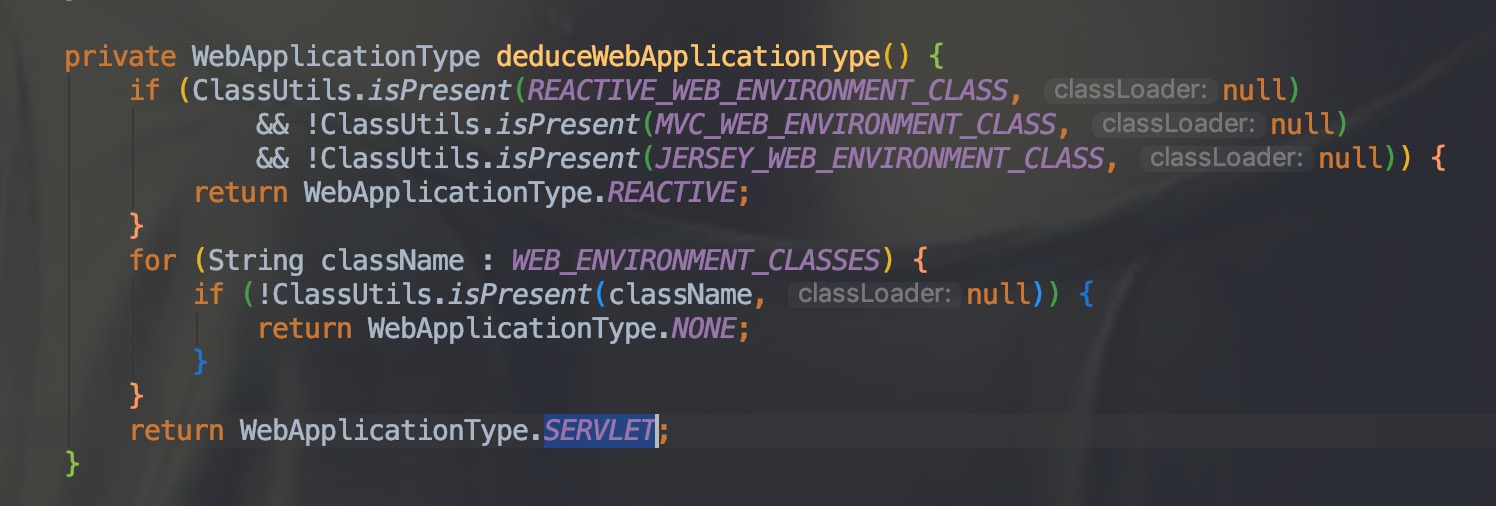
从上面的这个 SpringApplication() 方法中可以看出 SpringBoot 在初始化的时候,需要加载的资源。this.webApplicationType = deduceWebApplicationType(); 通过下面的 deduceWebApplicationType() 方法判断类型:
- NONE:应用程序不应作为Web应用程序运行,也不应启动嵌入式Web服务器。
- SERVLET:应用程序应作为基于servlet的Web应用程序运行,并应启动嵌入式servlet Web服务器。
- REACTIVE:应用程序应作为响应式Web应用程序运行,并应启动嵌入式响应式Web服务器。
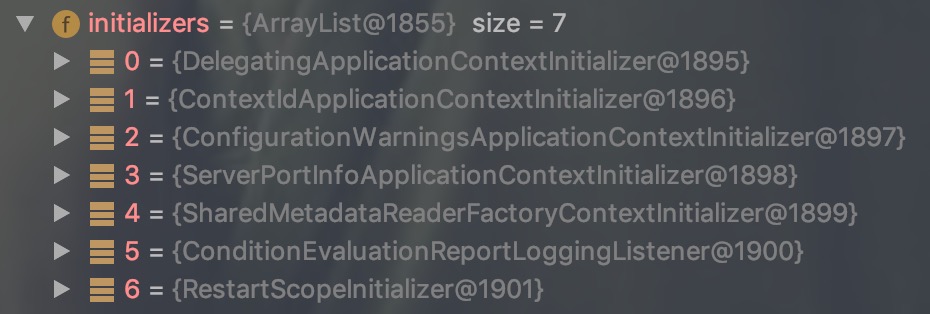
ApplicationContextInitializer
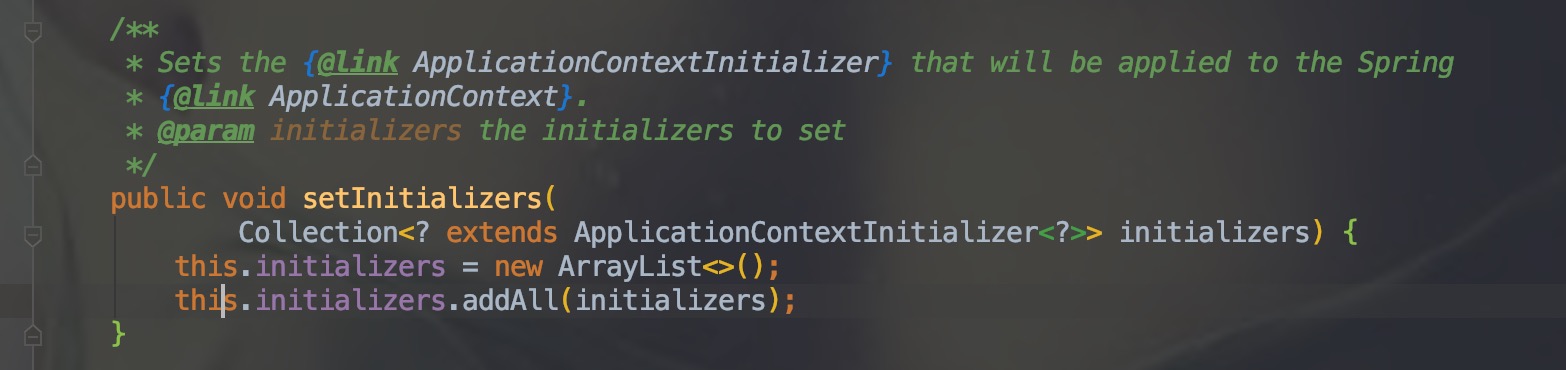
通过打断点,可以看到setInitializer()被加载的内容:
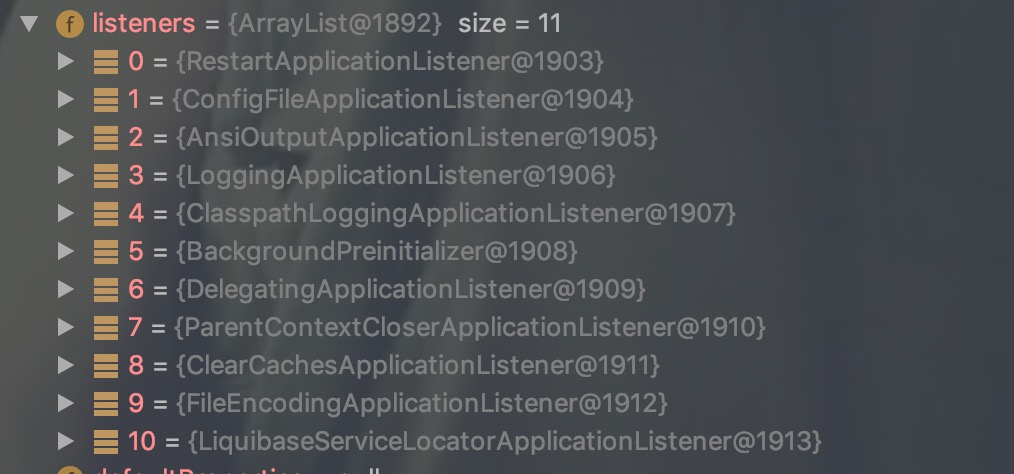
ApplicationListener
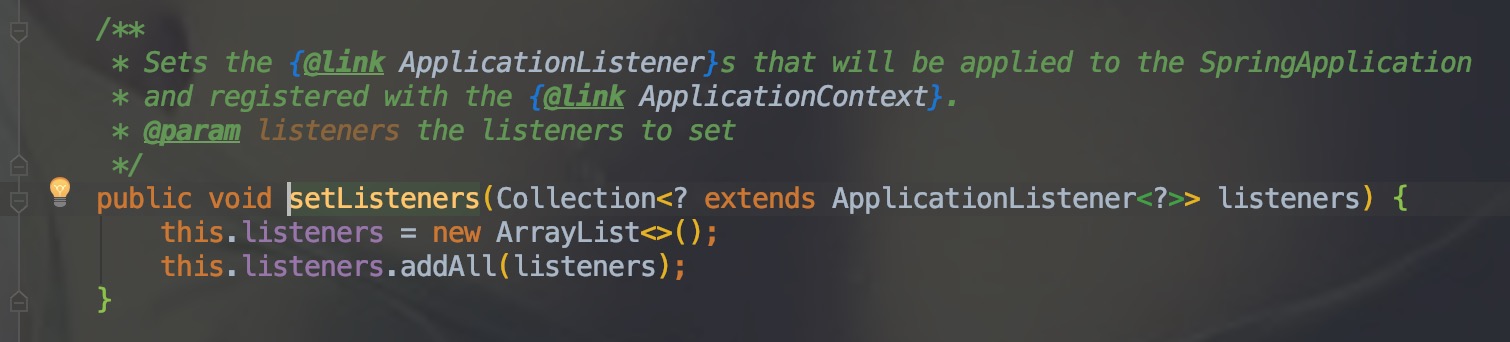
通过断点看到setListeners()方法中被加载的监听事件:
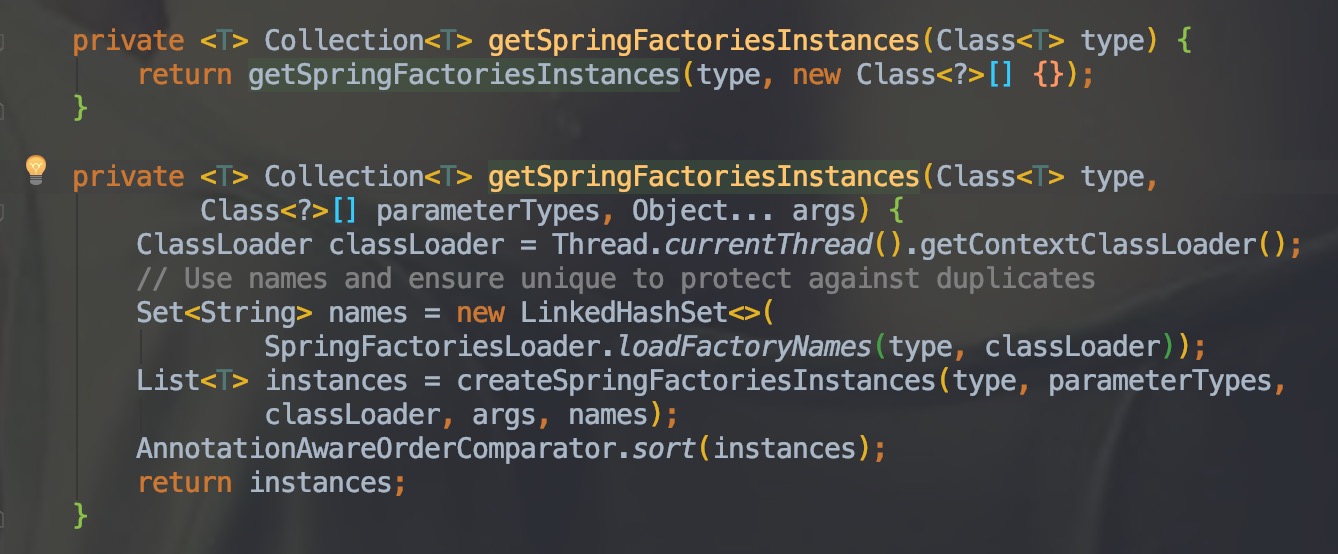
setInitializer() 和 setListeners() 这两个方法都使用了 getSpringFactoriesInstances 方法。代码中使用了 SpringFactoriesLoader.loadFactoryNames(type, classLoader));,这个根据 type 和 classLoader
1
2
3
4
5
6
7
8
9
10
11
12
13
14
15
16
17
18
19
20
21
22
23
24
25
26
27
28
29
30
31
32
33
34
| public static List<String> loadFactoryNames(Class<?> factoryClass, @Nullable ClassLoader classLoader) {
String factoryClassName = factoryClass.getName();
return (List)loadSpringFactories(classLoader).getOrDefault(factoryClassName, Collections.emptyList());
}
private static Map<String, List<String>> loadSpringFactories(@Nullable ClassLoader classLoader) {
MultiValueMap<String, String> result = (MultiValueMap)cache.get(classLoader);
if (result != null) {
return result;
} else {
try {
Enumeration<URL> urls = classLoader != null ? classLoader.getResources("META-INF/spring.factories") : ClassLoader.getSystemResources("META-INF/spring.factories");
LinkedMultiValueMap result = new LinkedMultiValueMap();
while(urls.hasMoreElements()) {
URL url = (URL)urls.nextElement();
UrlResource resource = new UrlResource(url);
Properties properties = PropertiesLoaderUtils.loadProperties(resource);
Iterator var6 = properties.entrySet().iterator();
while(var6.hasNext()) {
Entry<?, ?> entry = (Entry)var6.next();
List<String> factoryClassNames = Arrays.asList(StringUtils.commaDelimitedListToStringArray((String)entry.getValue()));
result.addAll((String)entry.getKey(), factoryClassNames);
}
}
cache.put(classLoader, result);
return result;
} catch (IOException var9) {
throw new IllegalArgumentException("Unable to load factories from location [META-INF/spring.factories]", var9);
}
}
}
|
spring.factories文件的作用也就间接的实现了自动化配置。我们可以在项目下创建自己的spring.factories文件。从 spring boot 启动流程中加入我们自己需要的东西。
run()
1
2
3
4
5
6
7
8
9
10
11
12
13
14
15
16
17
18
19
20
21
22
23
24
25
26
27
28
29
30
31
32
33
34
35
36
37
38
39
40
41
42
43
44
45
46
47
48
49
50
51
52
53
| public ConfigurableApplicationContext run(String... args) {
StopWatch stopWatch = new StopWatch();
stopWatch.start();
ConfigurableApplicationContext context = null;
Collection<SpringBootExceptionReporter> exceptionReporters = new ArrayList<>();
configureHeadlessProperty();
SpringApplicationRunListeners listeners = getRunListeners(args);
listeners.starting();
try {
ApplicationArguments applicationArguments = new DefaultApplicationArguments(
args);
ConfigurableEnvironment environment = prepareEnvironment(listeners,
applicationArguments);
configureIgnoreBeanInfo(environment);
Banner printedBanner = printBanner(environment);
context = createApplicationContext();
exceptionReporters = getSpringFactoriesInstances(
SpringBootExceptionReporter.class,
new Class[] { ConfigurableApplicationContext.class }, context);
prepareContext(context, environment, listeners, applicationArguments,
printedBanner);
refreshContext(context);
afterRefresh(context, applicationArguments);
stopWatch.stop();
if (this.logStartupInfo) {
new StartupInfoLogger(this.mainApplicationClass)
.logStarted(getApplicationLog(), stopWatch);
}
listeners.started(context);
callRunners(context, applicationArguments);
}
catch (Throwable ex) {
handleRunFailure(context, ex, exceptionReporters, listeners);
throw new IllegalStateException(ex);
}
try {
listeners.running(context);
}
catch (Throwable ex) {
handleRunFailure(context, ex, exceptionReporters, null);
throw new IllegalStateException(ex);
}
return context;
}
|
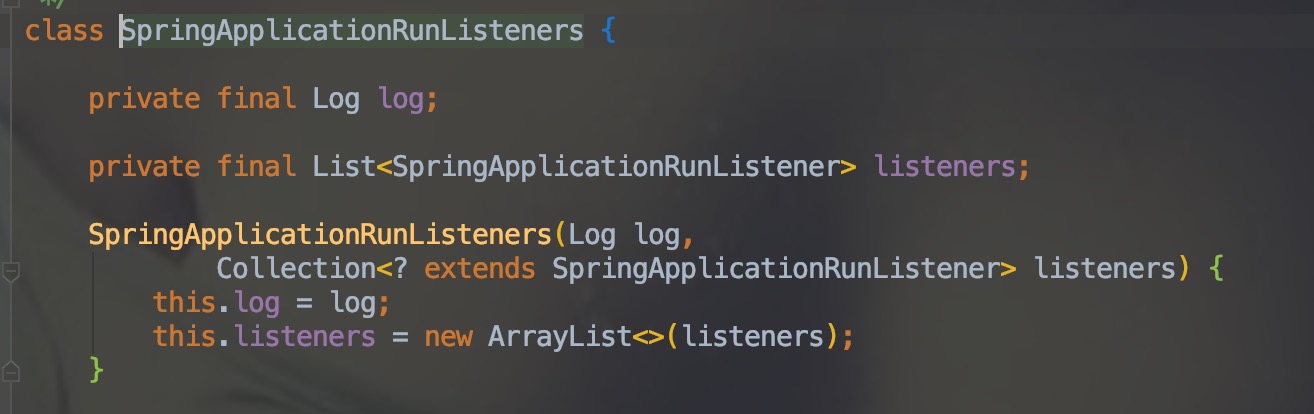
获取监听事件
SpringApplicationRunListeners listeners = getRunListeners(args);首先看下图的SpringApplicationRunListeners类。其中包含一个 SpringApplicationRunListener 集合,可以看那个的那个 SpringApplicationRunListener 接口代码
1
2
3
4
5
6
7
8
9
10
11
12
13
14
15
16
| public interface SpringApplicationRunListener {
void starting();
void environmentPrepared(ConfigurableEnvironment environment);
void contextPrepared(ConfigurableApplicationContext context);
void contextLoaded(ConfigurableApplicationContext context);
void started(ConfigurableApplicationContext context);
void running(ConfigurableApplicationContext context);
void failed(ConfigurableApplicationContext context, Throwable exception);
}
|
从上面可以看出在run()方法中构建了一个SpringApplicationRunListeners,其中包含多个 SpringApplicationRunListener,用来监听应用启动过程中的start、environmentPrepared、contextPrepared、contextLoaded 等事件。
创建和准备环境:environment
1
2
| ApplicationArguments applicationArguments = new DefaultApplicationArguments(args);
ConfigurableEnvironment environment = prepareEnvironment(listeners, pplicationArguments);
|
1
2
3
4
5
6
7
8
9
10
11
12
13
14
15
16
17
18
| private ConfigurableEnvironment prepareEnvironment(
SpringApplicationRunListeners listeners,
ApplicationArguments applicationArguments) {
ConfigurableEnvironment environment = getOrCreateEnvironment();
configureEnvironment(environment, applicationArguments.getSourceArgs());
listeners.environmentPrepared(environment);
bindToSpringApplication(environment);
if (!this.isCustomEnvironment) {
environment = new EnvironmentConverter(getClassLoader())
.convertEnvironmentIfNecessary(environment, deduceEnvironmentClass());
}
ConfigurationPropertySources.attach(environment);
return environment;
}
|
创建应用上下文
1
| context = createApplicationContext();
|
1
2
3
4
5
6
7
8
9
10
11
12
13
14
15
16
17
18
19
20
21
22
23
24
| protected ConfigurableApplicationContext createApplicationContext() {
Class<?> contextClass = this.applicationContextClass;
if (contextClass == null) {
try {
switch (this.webApplicationType) {
case SERVLET:
contextClass = Class.forName(DEFAULT_WEB_CONTEXT_CLASS);
break;
case REACTIVE:
contextClass = Class.forName(DEFAULT_REACTIVE_WEB_CONTEXT_CLASS);
break;
default:
contextClass = Class.forName(DEFAULT_CONTEXT_CLASS);
}
}
catch (ClassNotFoundException ex) {
throw new IllegalStateException(
"Unable create a default ApplicationContext, "
+ "please specify an ApplicationContextClass",
ex);
}
}
return (ConfigurableApplicationContext) BeanUtils.instantiateClass(contextClass);
}
|
context 初始化过程:
- AbstractApplicationContext
- 设置Log
- 设置id和displayName
- 初始化BeanFactoryPostProcessor的集合
- active,closed初始化
- 初始化ApplicationListener的集合
- 设置resourcePatternResolver
- GenericApplicationContext
- customClassLoader = false
- refreshed = false
- beanFactory = new DefaultListableBeanFactory
- AnnotationConfigEmbeddedWebApplicationContext
- this.reader = new AnnotatedBeanDefinitionReader(this);注册了几个BeanDefinition,最重要的是CongiurationClassPostProcessor的bean definition
- this.scanner = new ClassPathBeanDefinitionScanner(this);设置了需要识别的注解的类型
prepareContext()
- 调用用户配置的initializer的方法
- 设置context的Id
- context注册 ConfigurationWarningsPostProcessor用于检查错误的配置
- 向env中设置实际的端口
- SharedMetadataReaderFactoryContextInitializer.CachingMetadataReaderFactoryPost- Processor
- 设置ContextRefreshedEvent监听器,打印ConditionEvaluationReport日志
- 打印启动日志
- 注册固定的单例bean
- 加载主类的bean definition
- 向context中添加-
- ConfigFileApplicationListener.PropertySourceOrderingPostProcessor
总结
SpringApplication()
调用里面的构造器,初始化一个 SpringApplication()。
- 加载资源文件
- 加载主要的bean
- 判断是否web环境以及判断是那种web环境
- 设置setInitializers
- 调用
getSpringFactoriesInstances 加载 META-INF/spring.factories 里面的信息
- 设置setListeners
- 调用
getSpringFactoriesInstances 加载 META-INF/spring.factories 中配置的 org.springframework.context.ApplicationListener
- 设置
mainApplicationClass:deduceMainApplicationClass() 该方法通过获取当前方法调用栈,找到main函数的类
run()
- 初始化StopWatch,调用其start方法开始计时.
- 调用configureHeadlessProperty设置系统属性java.awt.headless,这里设置为true,表示运行在服务器端,在没有显示器和鼠标键盘的模式下工作,模拟输入输出设备功能
- 调用SpringApplicationRunListeners#starting
- 创建一个DefaultApplicationArguments对象,它持有着args参数,就是main函数传进来的参数.调用prepareEnvironment方法.
- 打印banner
- 创建SpringBoot上下文
- 初始化FailureAnalyzers
- 调用prepareContext
- 调用AbstractApplicationContext#refresh方法,并注册钩子
- 在容器完成刷新后,依次调用注册的Runners
- 调用SpringApplicationRunListeners#finished
- 停止计时
- 初始化过程中出现异常时调用handleRunFailure进行处理,然后抛出IllegalStateException异常.
Reference